This was my first time doing bubble graffiti letters. I honestly enjoyed this activity because it allowed me to take a break from all the craziness around me and be able to clear my mind to just focus on the art. I found it really relaxing and was in my own headspace. I googled “graffiti bubble letters” on Google Images and found a template of the entire alphabet in a style that I liked. I found the style I liked and began on my piece of paper. I decided to use the template as a “guide” for my main idea, however, I changed the letters to my own liking.
I free-handed everything since I thought you can’t really go wrong with “graffiti” style art since it can be your own thing. I first started off doing my name with a pencil since unfortunately, I did not have spray paint nor any paint at my parents house. I began to sketch the letters of my name. After, I got my black Sharpie and began to outline my name. I would add my own lines even after I had sketched out the outline for my name letters. I would add lines anywhere I felt like adding them. I would also “thicken” certain areas to make the letters more bubble like. After finishing outlining the letters in balck, I searched for markers.
I was lucky enough to find two markers, and to my surprise, they were both my favorite colors: blue and pink. I started first with pink and the blue and did this pattern throughout my five letters. After completing it, I decided to just hang it up on the door of my room because I figured why not. Overall, my experiencing bubble letters was nice for both the actual process of doing the letters, something I found extremely fun, and because it allowed me to chill.

#1 – Blank page 
#2 – Pencil letter sketch 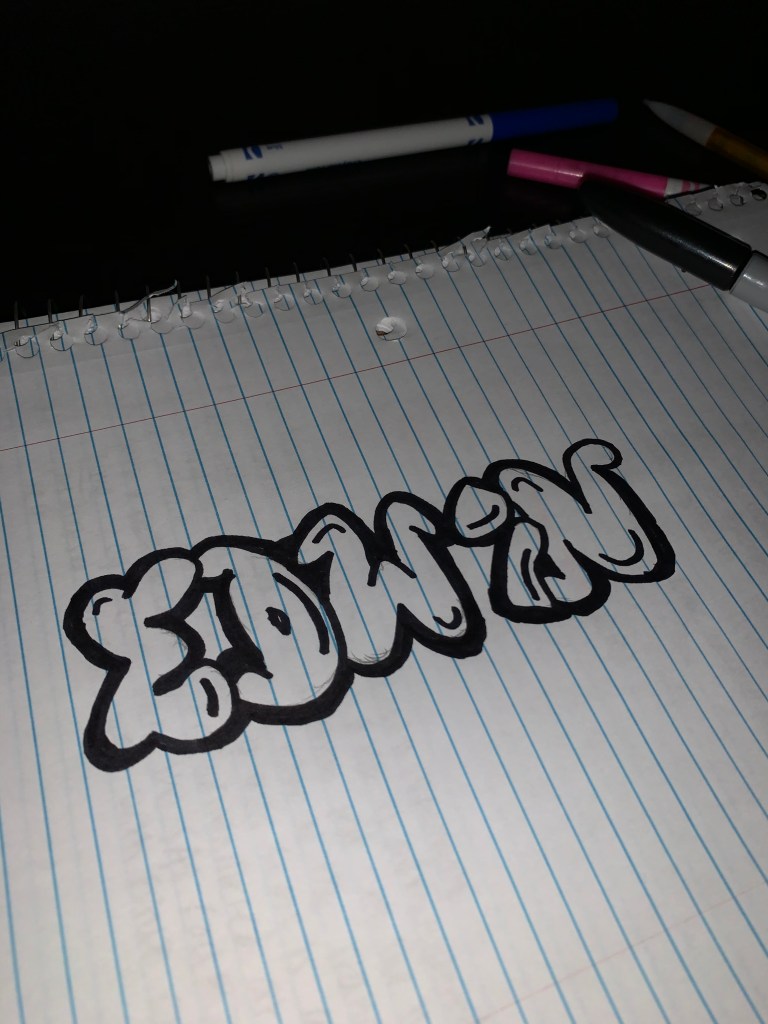
#3 – Black Sharpie outline 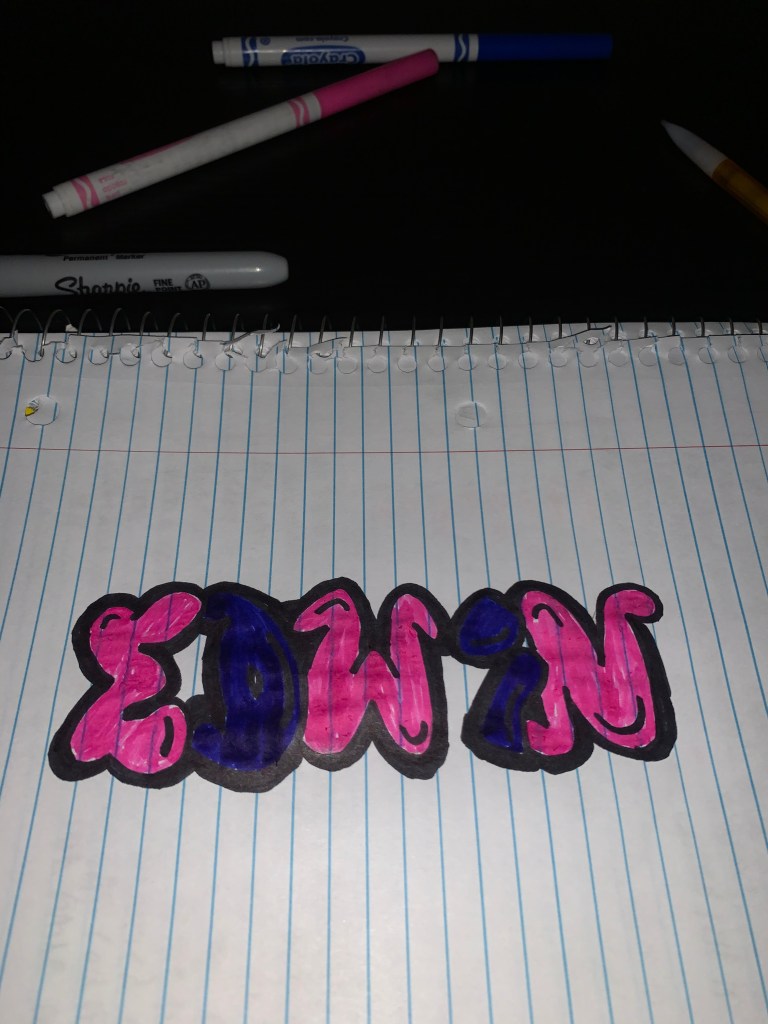
#4 – Letters filled in with my favorite colors 
#5 – Hanged up on my room door 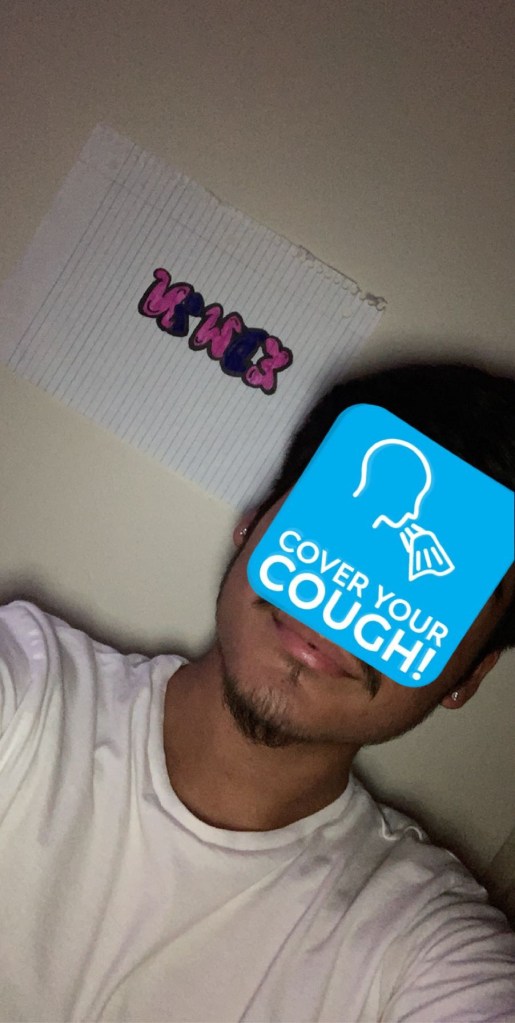
#6 – Me next to my art
